This guide shows how to configure common browsers to send traffic through I2P’s built‑in HTTP proxy. It covers Safari, Firefox, and Chrome/Chromium browsers with detailed step-by-step instructions.
Important Notes:
- I2P’s default HTTP proxy listens on
127.0.0.1:4444. - I2P protects traffic inside the I2P network (.i2p sites).
- Make sure your I2P router is running before configuring your browser.
Safari (macOS)
Safari uses the system-wide proxy settings on macOS.
Step 1: Open Network Settings
- Open Safari and go to Safari → Settings (or Preferences)
- Click on the Advanced tab
- In the Proxies section, click Change Settings…
This will open your Mac’s System Network Settings.

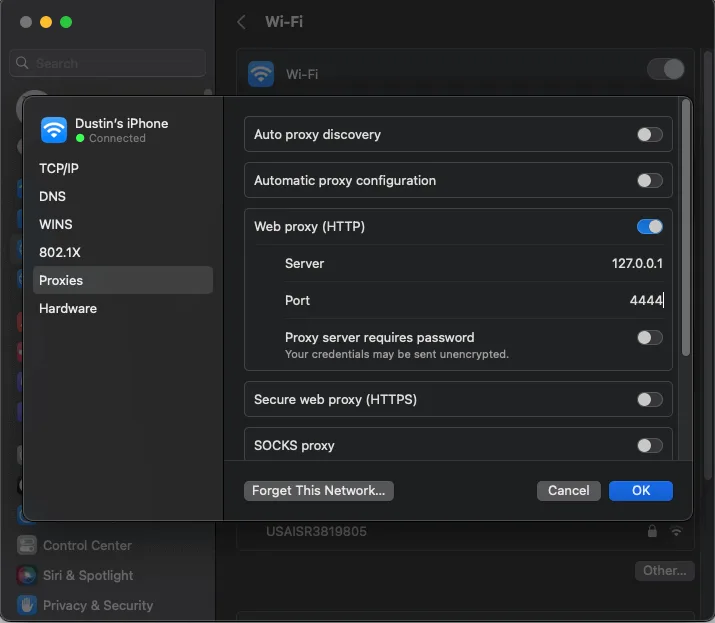
Step 2: Configure HTTP Proxy
- In the Network settings, check the box for Web Proxy (HTTP)
- Enter the following:
- Web Proxy Server:
127.0.0.1 - Port:
4444
- Web Proxy Server:
- Click OK to save your settings
You can now browse .i2p sites in Safari!
Note: These proxy settings will affect all applications that use macOS system proxies. Consider creating a separate user account or using a different browser exclusively for I2P if you want to isolate I2P browsing.
Firefox (Desktop)
Firefox has its own proxy settings independent of the system, making it ideal for dedicated I2P browsing.
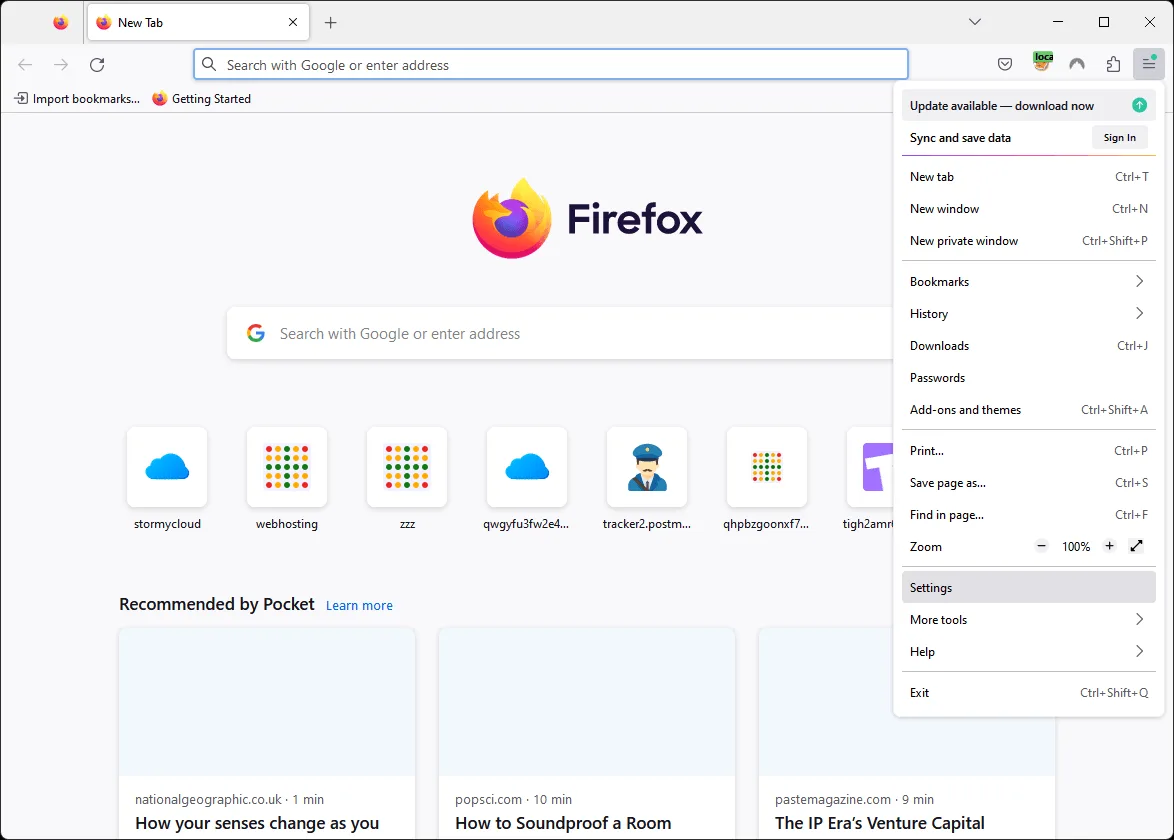
Step 1: Open Settings
- Click the menu button (☰) in the top right
- Select Settings
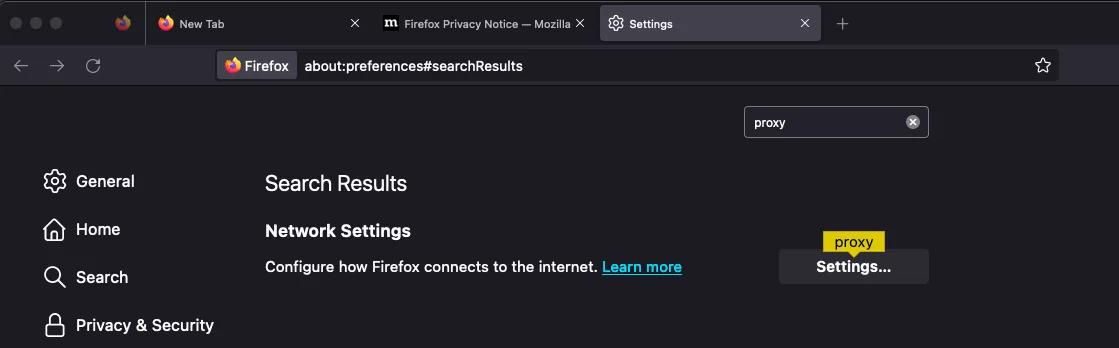
Step 2: Find Proxy Settings
- In the Settings search box, type “proxy”
- Scroll to Network Settings
- Click the Settings… button
Step 3: Configure Manual Proxy
- Select Manual proxy configuration
- Enter the following:
- HTTP Proxy:
127.0.0.1Port:4444
- HTTP Proxy:
- Leave SOCKS Host empty (unless you specifically need SOCKS proxy)
- Check Proxy DNS when using SOCKS only if using SOCKS proxy
- Click OK to save

You can now browse .i2p sites in Firefox!
Tip: Consider creating a separate Firefox profile dedicated to I2P browsing. This keeps your I2P browsing isolated from regular browsing. To create a profile, type about:profiles in the Firefox address bar.
Chrome / Chromium (Desktop)
Chrome and Chromium-based browsers (Brave, Edge, etc.) typically use system proxy settings on Windows and macOS. This guide shows the Windows configuration.
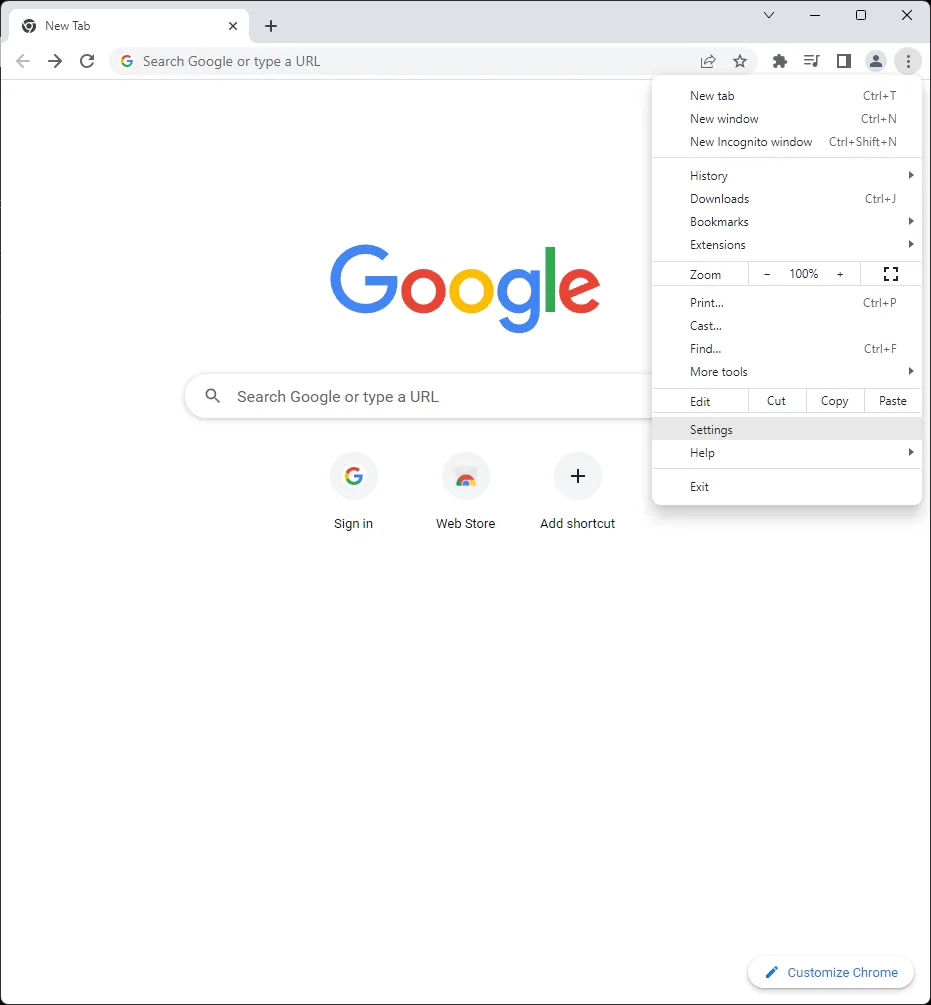
Step 1: Open Chrome Settings
- Click the three dots menu (⋮) in the top right
- Select Settings
Step 2: Open Proxy Settings
- In the Settings search box, type “proxy”
- Click Open your computer’s proxy settings
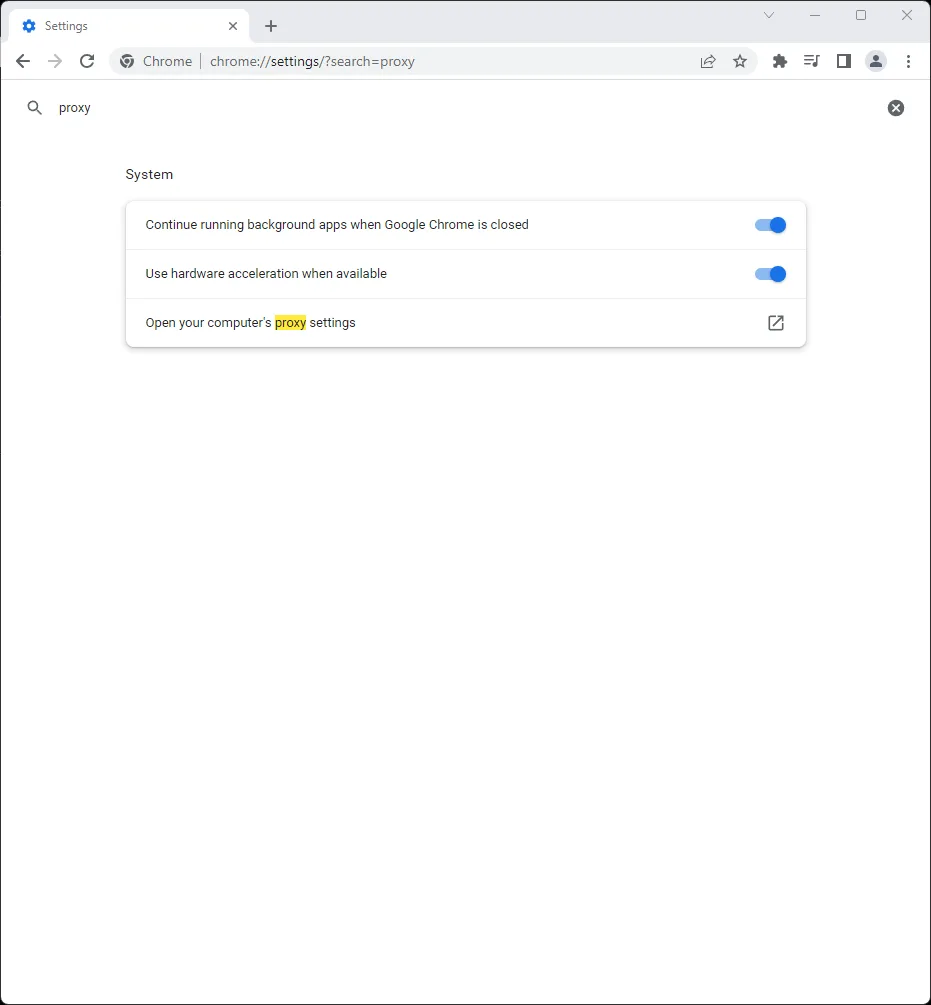
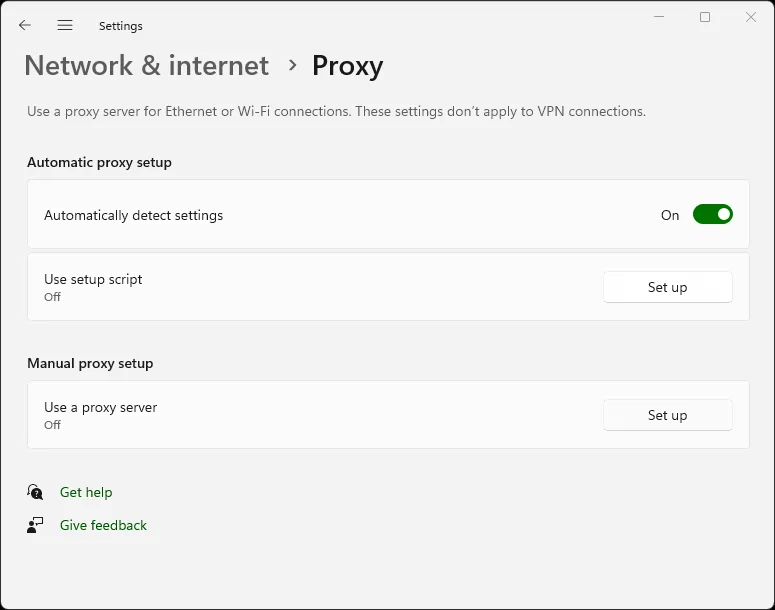
Step 3: Open Manual Proxy Setup
This will open Windows Network & Internet settings.
- Scroll down to Manual proxy setup
- Click Set up
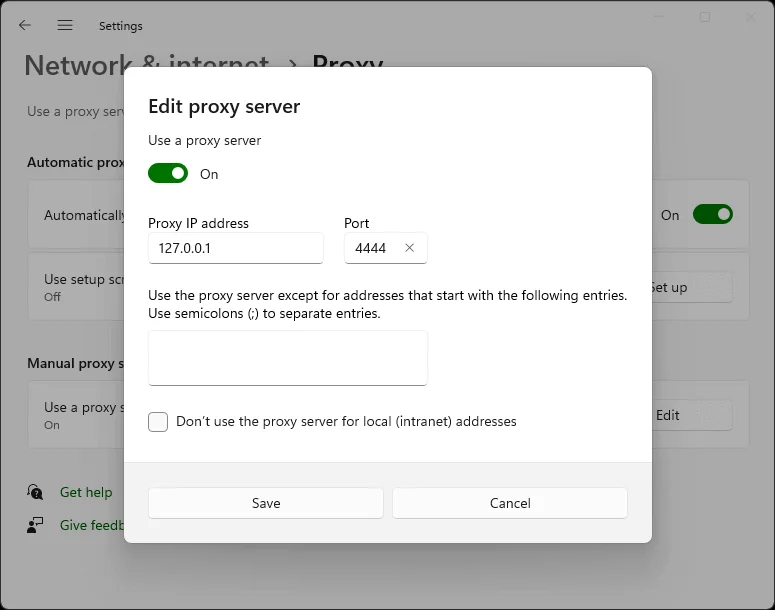
Step 4: Configure Proxy Server
- Toggle Use a proxy server to On
- Enter the following:
- Proxy IP address:
127.0.0.1 - Port:
4444
- Proxy IP address:
- Optionally, add exceptions in “Don’t use the proxy server for addresses beginning with” (e.g.,
localhost;127.*) - Click Save
You can now browse .i2p sites in Chrome!
Note: These settings affect all Chromium-based browsers and some other applications on Windows. To avoid this, consider using Firefox with a dedicated I2P profile instead.
Linux: Chrome with Command-Line Flags
On Linux, you can launch Chrome/Chromium with proxy flags to avoid changing system settings:
chromium \
  --proxy-server="http=127.0.0.1:4444 \
  --proxy-bypass-list="<-loopback>"
Or create a desktop launcher script:
#!/bin/bash
chromium --proxy-server="http=127.0.0.1:4444" --user-data-dir="$HOME/.config/chromium-i2p"
The --user-data-dir flag creates a separate Chrome profile for I2P browsing.
Firefox‑based Android (IceRaven and others)
Modern “Fenix” Firefox builds limit about:config and extensions by default. IceRaven is a Firefox fork that enables a curated set of extensions, making proxy setup simple.
Extension‑based configuration (IceRaven):
- If you already use IceRaven, consider clearing browsing history first (Menu → History → Delete History).
- Open Menu → Add‑Ons → Add‑Ons Manager.
- Install the extension “I2P Proxy for Android and Other Systems”.
- The browser will now proxy through I2P.
This extension also works on pre‑Fenix Firefox‑based browsers if installed from AMO .
Enabling wide extension support in Firefox Nightly requires a separate process documented by Mozilla .
Internet Explorer / Windows System Proxy
On Windows, the system proxy dialog applies to IE and can be used by Chromium‑based browsers when they inherit system settings.
- Open “Network and Internet Settings” → “Proxy”.
- Enable “Use a proxy server for your LAN”.
- Set address
127.0.0.1, port4444for HTTP.. - Optionally check “Bypass proxy server for local addresses”.